This tutorial will show you step-by-step how to change a folder picture (thumbnail) in Windows 11.
1. Open File Explorer.

2. Go to the folder.
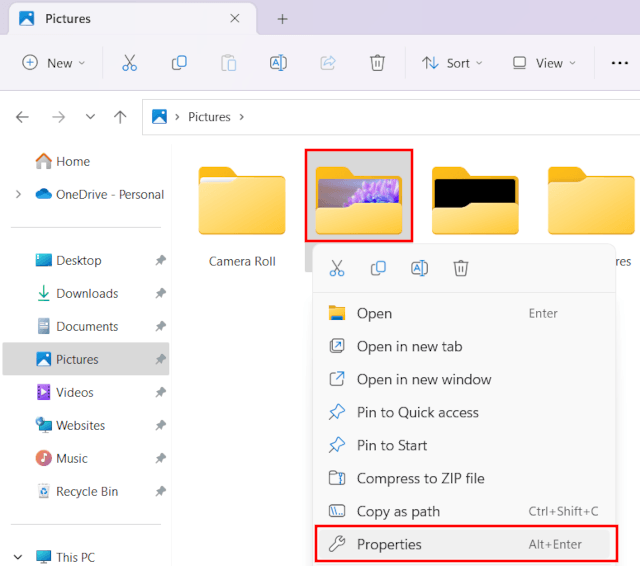
3. Right-click on the folder.
4. Click on Properties.
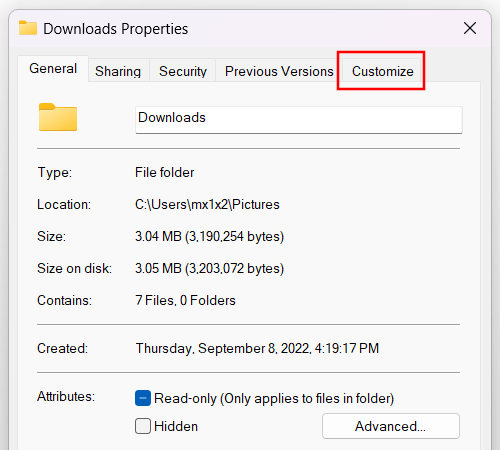
A “Properties” window will open.
5. Click on Customize.
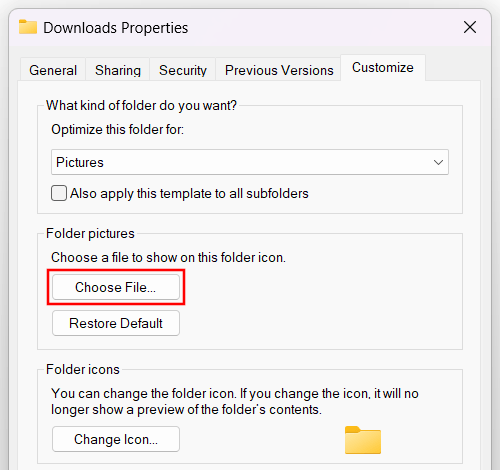
6. In the “Folder pictures” section, you click on Choose File.
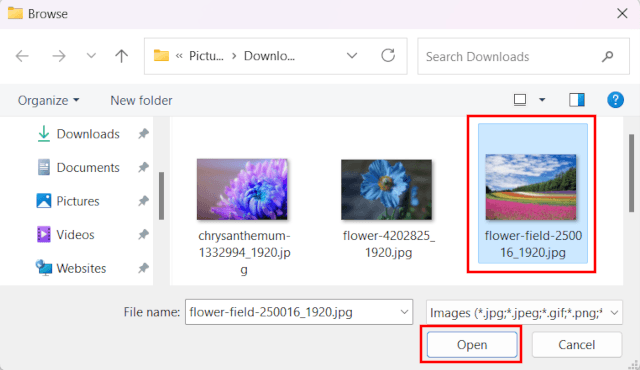
Another window will open.
7. Select the picture you want to show on the folder icon.
8. Click on Open.
9. Click on Apply at the bottom of the window.
10. Click on OK.
